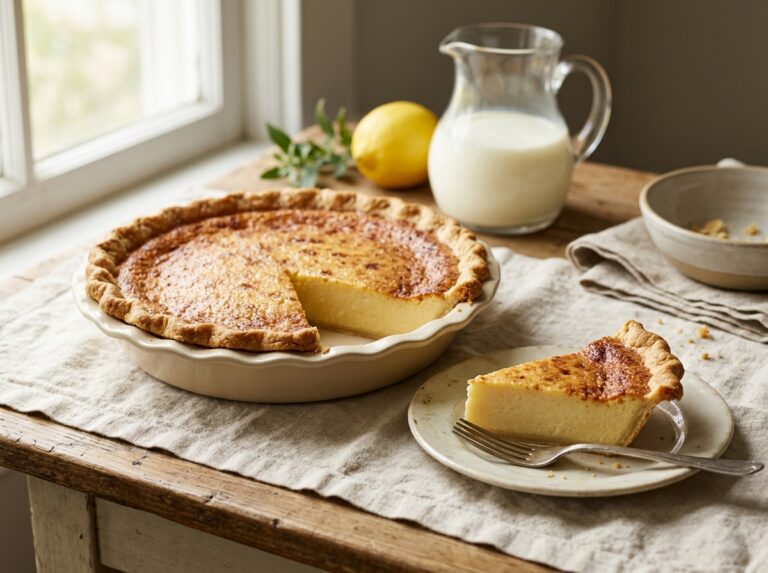
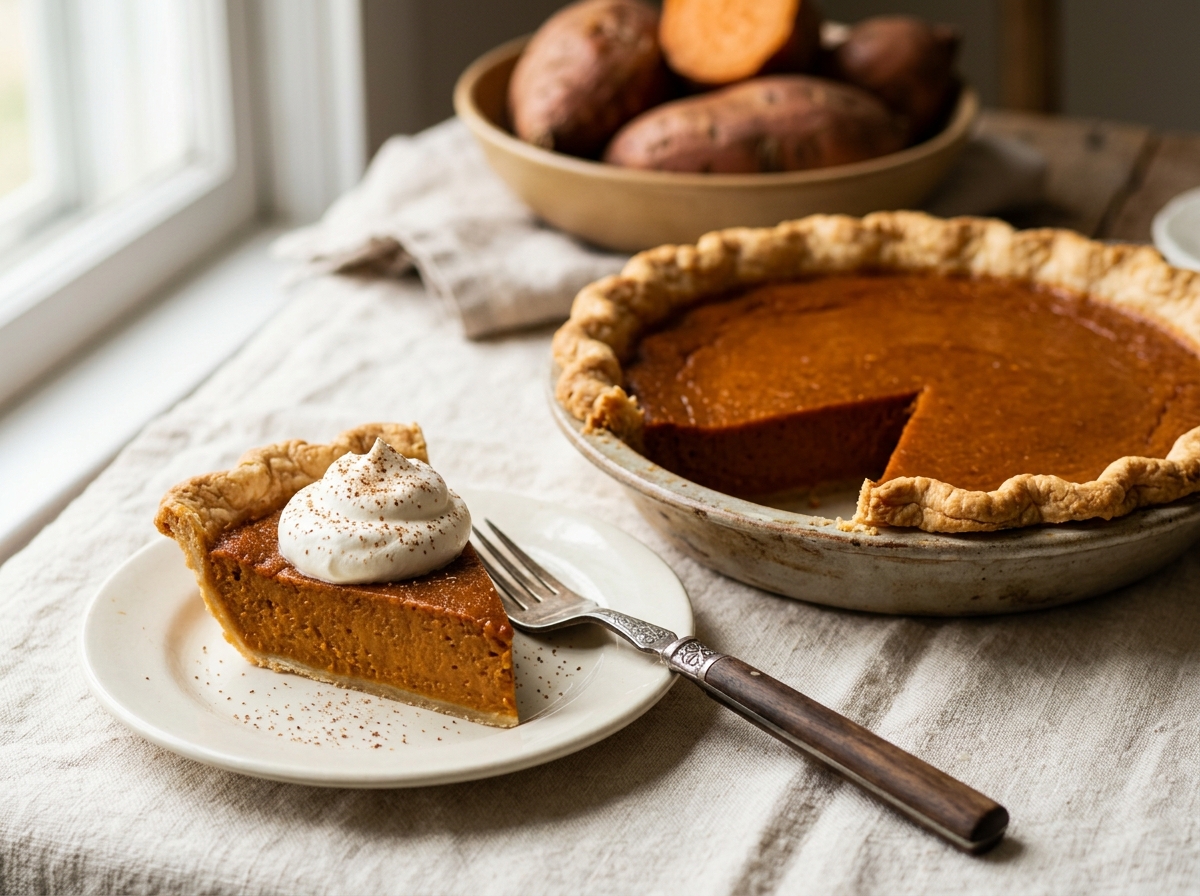
Sweet Potato Pie
Roasting instead of boiling gives you deeper flavor and a creamier filling.
There’s something about the smell of sweet potato pie baking that fills a house with warmth. The caramel notes, the spice, the buttery crust—it all comes together while you’re doing something else entirely.
Most recipes boil the potatoes, which waters them down and wastes flavor. Roasting them concentrates the natural sugars and gives you a filling with real depth. It takes a little longer than boiling, but you’re mostly just waiting, and the difference tastes like it mattered.
This is the pie you make when you want comfort to be obvious, but you don’t want to spend the whole afternoon fussing.
Sweet Potato Pie
Serves 8 · Prep 20 min · Cook 1 hr 45 min
-
Heat your oven to 400°F. Prick two large sweet potatoes all over with a fork, place them on a baking sheet lined with foil, and roast until a knife passes through the center with no resistance, about 50 to 55 minutes. The skin will look wrinkled and slightly collapsed.
-
Let the potatoes cool until you can handle them, about 10 minutes. Scoop the flesh into a bowl, discarding the skin.
-
Mash the roasted potato with a fork or potato ricer until no lumps remain. You should have about 2 cups of puree.
-
In a large bowl, cream together the softened butter, granulated sugar, and brown sugar until light and fluffy, about 2 minutes. The mixture should look almost pale.
-
Add the salt, cinnamon, ginger, and clove to the butter mixture and stir until even.
-
Whisk the eggs together in a small bowl, then add them to the butter mixture. Stir until combined, about 30 seconds.
-
Fold the mashed sweet potato into the filling in two additions, stirring until no streaks of potato remain.
-
Pour in the evaporated milk and vanilla and stir until the filling is smooth and pourable, about 1 minute. The texture should be slightly thinner than pudding.
-
Pour the filling into the unbaked pie crust. Smooth the top with the back of a spoon.
-
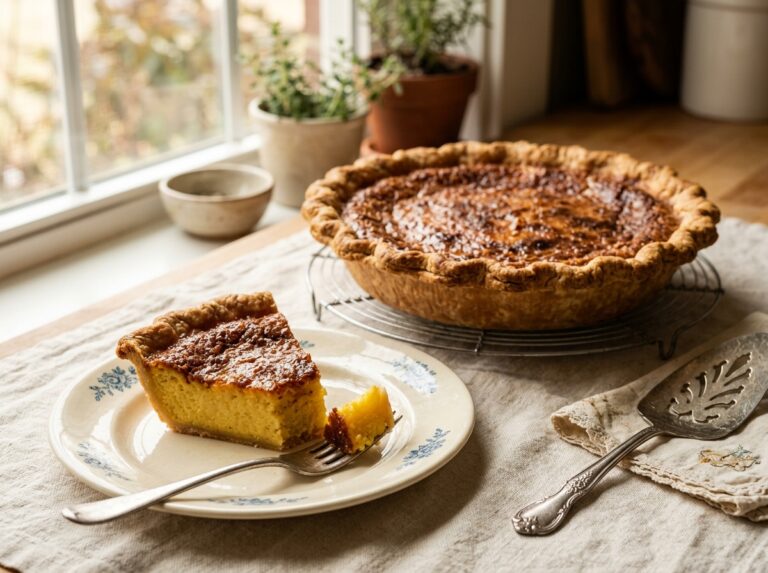
Bake at 350°F for 50 to 60 minutes. The pie is done when the filling jiggles very slightly in the center when you gently shake the pan, but the edges are fully set. The top will look dry and slightly darker than the sides.
-
Cool the pie on a wire rack for at least 2 hours before slicing. It will continue to set as it cools and will be easier to cut cleanly.
Why This Recipe Works
- Roasting concentrates the potato’s natural sugars instead of diluting them with water. The dry heat caramelizes the surface, adding a subtle toasted note that boiling can never reach.
- Evaporated milk has had water removed, so it creates a custard-like texture without thinning the filling. It also adds a slight caramel flavor that echoes the roasted potato.
- Mashing by hand or with a ricer keeps the texture smooth while avoiding the gluey paste you get from over-processing. Sweet potatoes release starch when they are beaten or blended, so restraint matters.
- Baking just until the center jiggles means the pie will continue cooking as it cools, setting to exactly the right firmness. Overbaking will dry it out and cause cracks.
Tips for Best Results
- Do not use the microwave or boiling water to cook the potatoes. You will lose the concentrated flavor that makes this worth doing differently.
- Check the pie at 50 minutes. Every oven is different, and overbaking is the fastest way to ruin it. The filling should look almost underdone when it comes out.
- Let the pie cool completely before slicing. Warm pie will be custard-soft and fall apart on the plate. Cold pie cuts cleanly.
- If the crust edge is browning too fast, tent it loosely with foil after 20 minutes of baking.
- Use an instant-read thermometer to check for doneness if you are unsure. The center should read about 170°F when the pie is done.
Variations and Substitutions
- For a darker spice flavor, add 1/4 tsp nutmeg or a small pinch of cardamom to the spice blend.
- A tablespoon of bourbon or rum stirred into the filling adds warmth without tasting boozy.
- For a nod to savory, try a trace of black pepper along with the warm spices. It adds sophistication without changing the character.
- Gluten-free: Use any reliable all-butter gluten-free pie crust. The filling itself is naturally free of gluten.
- Dairy-free: Substitute coconut cream for the evaporated milk. The pie will be slightly less custardy but still silky and good.
Frequently Asked Questions
How do I store sweet potato pie?
Cover the cooled pie loosely with plastic wrap or foil and refrigerate it for up to 4 days. Do not freeze it—the filling will separate and become grainy. Let it come back to room temperature or serve it cold straight from the fridge.
Can I make the filling a day ahead?
Yes. Pour the finished filling into the unbaked crust, cover it loosely, and refrigerate overnight. Bring it to room temperature for about 15 minutes before baking, then add 5 to 10 minutes to the bake time.
Can I use canned sweet potato puree?
You can, but the flavor will be noticeably thinner and one-note. If you must, use about 2 cups of canned puree, drain it in a fine sieve for 10 minutes to remove excess liquid, and press it gently to extract water. The result will not be as good as roasted.
Why is my pie still wobbly after cooling?
A small jiggle in the very center is normal and good. If the entire pie feels liquidy, it likely did not bake long enough. Sweet potato filling firms significantly as it cools, but if you are worried, bake it a few minutes longer next time and watch for the edges to set completely before the center stops moving.
Sweet potato pie does not ask much of you. It wants good potatoes and a little patience while they roast. After that, the work is mostly measuring and stirring, and the oven does the rest. Make this when you want to feel like you did something worth the time.